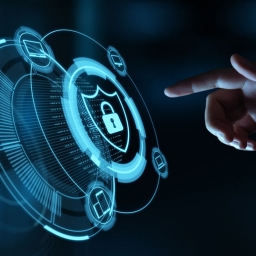
The Default Settings Aren’t Enough
Most people assume that after the initial phone set-up, they’re good to go. In reality, this is not true at all because your phones care very little about your security and privacy out of the box. You will have some basic protections, but the manufacturers have designed the phones for convenience first. So, without doing any extra work you will be left with little privacy and security and be vulnerable to potential threats.
While it can sometimes be annoying, it is worthwhile to put in the extra work to secure your phone. If you use it every day, and you probably do, there is valuable information stored on your phone that needs to be protected. If you do mobile banking, your login information is an ideal target for malicious attackers. It can be very damaging if this information falls into the wrong hands.
Here we will discuss how you can secure your mobile phone to maximize your security and privacy. In this blog we will focus on tips and settings for securing iPhones and in a future blog we will discuss Android phone security.
Touch ID/Face ID

You don’t want it to be easy for someone to access the information in your phone. This first step to make this difficult is to use the two-factor authentication (2FA) methods provided on the phones by default. 2FA means you need to provide two forms of verification to verify your identity. iPhones use a passcode and a biometric authentication method, which will either be Touch ID or Face ID. It’s worth noting that this isn’t true two-factor authentication because you only need to succeed in one of the two methods to unlock the phone.
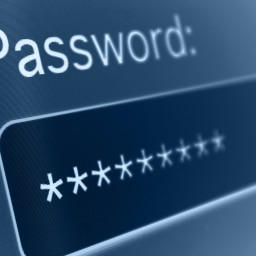
Unlike Face ID and Touch ID, your passcode can be customized. It may be tempting to prioritize ease of use and create a 4 digit passcode, but you should use something stronger. You can access the passcode options In the “Touch ID/Face ID & Passcode” settings. Then you want to go to “Change Passcode”. After entering your old passcode, you should see “Passcode Options”. Here you can choose to use the 4 digit numeric code, 6 digit numeric code, or a custom alphanumeric code. For better security, you should at least use a 6 digit numeric code. An alphanumeric code will grant you the best security but will likely be harder to remember.
As an extra security measure, you can also enable the “Erase Data” option in the Touch ID/Face ID & Passcode settings. This will erase all data on the iPhone after 10 failed passcode attempts. It’s very unlikely that you would trigger this accidentally so it should only ever activate if your phone has been stolen. If you use this setting be sure to regularly backup your data
iCloud Two-Factor Authentication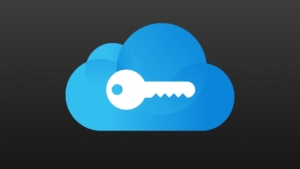
The iCloud stores a lot of personal data including your photos, contacts, messages, and more. If someone gained access to your iCloud account, they could steal your data without ever touching your phone. You want to make sure you have an extra layer of security on your iCloud account to protect your data. To do this you should enable two-factor authentication. Go into your settings and select your name at the top. Then go to “Password & Security” and from there enable “Two-Factor Authentication”.
Lock Screen
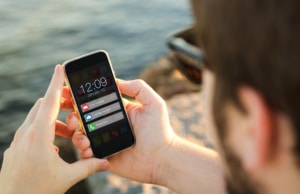
By default, the lock screen gives access to several features including Notification Center, Wallet, and Control Center. This can be customized in the Touch ID/Face ID & Passcode settings. I would recommend at least disabling the control center and wallet, but you can disable more settings to suit your privacy needs.
You don’t want a random person that picks up your phone having access to the control center because they can enable airplane mode from it. Airplane mode removes your ability to use Find My Phone to locate your phone if someone stole it. I think it’s a good idea to give people the least amount of information and power through your lock screen, so disabling the control center is an easy way to limit them.
If you don’t want to completely disable the Notification Center from the lock screen, you can instead turn off previews while the phone is locked. To do this go to your notifications settings, then change “Show Previews” to “When Unlocked”. Making this change will keep prying eyes from seeing your messages without unlocking your phone first.
SIM Pin
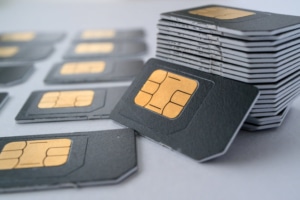
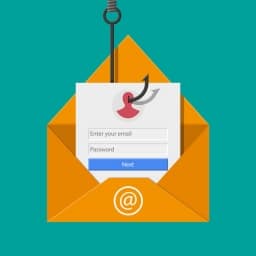
Your SIM card is important because it stores a lot of data including your phone number, contacts list, and text messages. SIM cards are popular targets for thieves looking to steal your SIM card and insert it into their phone. Once stolen, the thieves will not only have access to this data, but they can also use it to circumvent some security measures. For example, the thief can request 2FA codes that will be sent directly to them instead of you.
To avoid this, you should create a pin for your SIM card by going to the “Cellular” settings on your phone. Select “SIM PIN” and then enable it on the next screen. After you create your PIN, make sure to write down somewhere safe so you don’t lose it.
Find My Phone
Sometimes mistakes are made and you forget your phone in a public place. Thankfully Apple has provided a feature to help track down your lost phone. With Find My phone enabled you can remotely lock anyone out from using the phone without your Apple ID and password or completely erase the data from your phone if there is no option to retrieve it.
To activate Find My Phone, go into your settings and select your name at the top. Next select “Find My” and then select “Find My iPhone”. Enable “Find My iPhone” in the next screen.
Location Data in Photos and Videos
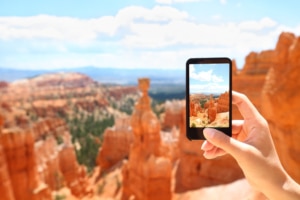
Unless you disable it, your location data is recorded when you take photos or record videos on your phone. When you post the photos and videos online, the location data is viewable to easily viewable by anyone looking for it. This can obviously harm your privacy and provide some potentially useful information to any malicious actors that find your location data.
To disable the location data, go into settings and select “Privacy”. Select “Location Services”, then scroll down to “Camera” and select it. You can change “Allow Location Access” to “Never” which will remove it from the data from your photos and videos. If you find some value in having the location data present, then you can set it to “While Using the App” and then turn off “Precise Location”. With this the location data will only provide an approximate location instead of your exact location.
Manage Location Services
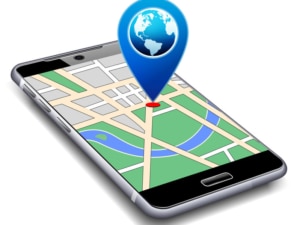
Many apps will ask you if they can track your location and while some of them legitimately rely on that information, others don’t really need it. To manage which apps are allowed to track your location, go into the settings and select “Privacy”. Select “Location Services”, then survey which apps have location services on. There are three options to choose from, “Never”, “Ask Next Time or When I Share”, or “While Using the App”. Apps like Youtube, don’t need your location and should probably be set to “Never”. If an app does need your location, you can consider turning off “Precise Location” while it’s set to “While Using the App”.
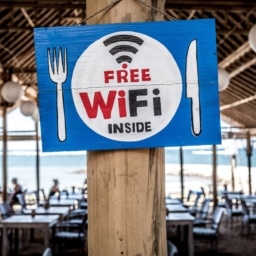
Public Wi-Fi and VPNs
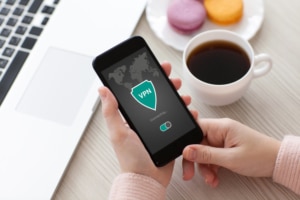
You are not safe from prying eyes when using public Wi-Fi. In fact, it is fairly easy for someone to spy on you without you even knowing it. To restore your privacy when in public settings, you should use a Virtual Private Network (VPN). The VPN will provide a secure tunnel for your data to travel through that blocks others from seeing what you are doing. Choose a trusted VPN provider and download their mobile app to set up a VPN connection on your phone. You should generally avoid free VPN services because they often sell your data and have security concerns. To learn more about VPNs check out our blog here.