Previously, we discussed 8 tips to help you secure your iPhone. Here in this blog, we will follow-up that discussion with tips to secure your Android phone. It may seem impossible to have privacy on Android, especially when it is so heavily tied to Google. With these tips, I will show you privacy and security on Android can be achieved with just a little effort. Many of the tips mentioned in the iPhone blog will also apply to Android, so be sure to check that blog out as well for some tips that aren’t mentioned here.
Passwords and Lock Screen

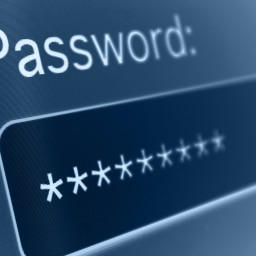
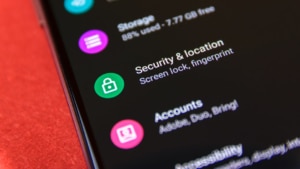
Your lock screen is the first line of defense for your phone, so you want it to be difficult to crack. Go to Settings>Security>Screen Lock. From here, you have the option to use swipe, pins, patterns, or a password to unlock your phone. Swipe and patterns are the most insecure options for unlocking your phone and should never be used.
The most secure option is to use a strong password. By now you know the problems with using weak passwords and why they should be avoided. If you don’t want to have to type out a long and complex password each time you unlock your phone, then choose a pin. The pin will provide good security while being easier to remember.You should use a pin that is at least 6 digits but the longer the pin, the harder it will be to crack.
It’s also a good idea to limit or disable notifications on the lock screen. Notifications could reveal private information to anyone who picks up your phone. To do this go to Settings>Privacy>Notifications, and click on Lock Screen. Choose either “Don’t show notifications at all” or “Show sensitive content only when unlocked”.
App Permissions
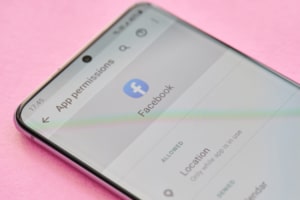
The permissions that apps have can present a problem for your privacy. Many apps simply don’t need to always have access to your location, microphone, contacts, etc. To manage the permissions apps have, go to Settings>Privacy>Permission Manager. Here you can see each permission separately and if you tap into them you can see which apps have the permission.
While it may vary for some permissions, generally your options are “Allow all the time”, “Allow only while using the app”, “Ask every time”, or “Don’t Allow”. For example, Facebook does not need to know your location all the time. So, you could change it to “Allow only while using the app” or “Ask every time”. This can be somewhat daunting to sort through for each app, but it is worth it to set aside some time to check these permissions.
Less is More
To help make the task of managing permissions easier, you should simply delete excess apps. We all have apps on our phones that we rarely, if ever use. It may seem harmless to leave them there but if they have unnecessary permissions, they are a potential privacy threat. They could also be needlessly draining your battery if they are always tracking your location. Limiting the number of apps on your device down to the apps you actively use can save you lots of headache in the long run.
Lock Your SIM Card
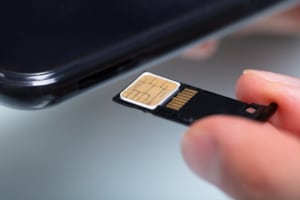
In the iPhone guide, I explained why SIM cards are a popular target for thieves. Your SIM card stores a lot of data including your phone number, contacts list, and text messages. A thief can use it to send messages impersonating you or have your two-factor authentication (2FA) codes sent directly to them. To prevent this from happening, go to Settings>Security>SIM Card Lock. Enable “Lock SIM card” and set a pin. Remember to write down the pin somewhere safe so you don’t lose it.
Google Account Two-Factor Authentication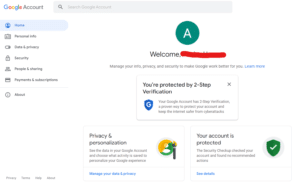
Protecting your google account should be a high priority given its importance to android users. One of the best ways to do that is to enable 2FA on your account. To do this, go to myaccount.google.com and then click on Security on the left. From there, click on 2-Step Verification and follow the onscreen prompts to set it up.
Opt Out of Data Harvesting
There are several ways in which apps, manufacturers, and Google will gather data about you. To find them go to Settings>Privacy. First you want to turn off “Send Diagnostic Data”. As it suggests, this will prevent your phone from sending diagnostic and usage data to the manufacturer.
You should also turn off “Android Personalization Service”, in the privacy settings. The point of this service is to deliver personalized content and suggestions by sharing your app usage data between apps. All of this makes it even easier for companies to track you across apps and we don’t know exactly what data is being shared.
Another privacy setting to turn off is Google Location History. When this is turned on, Google is tracking and saving your location all the time, even when you are not using Google Services. To most people, this level of tracking seems unnecessary. To turn this off, in the privacy settings click “Google Location History”, then “turn off”, and finally “Pause”.
Find My Device
If your phone gets lost, you want to have a way to find it, lock it, or remotely wipe it. The easiest way to do this is with the Find My Device app. It should be pre-installed on most android devices but if it is not, you can download it from the Google Play Store. To set up Find My Device for your phone, open the app, sign in with your Google account, and then allow the app to access your device’s location. You should see your phone’s location on the map in the app. If you lose your phone, you can access Find My Device through the website https://www.google.com/android/find. Once you sign into your Google account you should be able to see your phone’s location and you can decide if you want to lock it or erase the data. If the phone is near you, you can also choose “Play Sound” which will cause it to ring for 5 minutes.